Why DIY Wall Art?
So, why do I keep coming back to DIY wall art? For one, it’s cheap. You can make something awesome without dropping a fortune at a decor store. Plus, you get to pick exactly what you want—colors, sizes, whatever fits your vibe. It’s also a cool way to show off who you are. Every piece ends up being totally your own. And honestly? There’s nothing better than pointing at something on your wall and saying, “Yeah, I made that.” It’s such a mood-lifter. Oh, and it’s a blast to mess around with, whether you’re chilling solo or crafting with friends.
Materials Needed
You don’t need much to get started. Most of this stuff I grabbed from places like Walmart or the Dollar Tree. Here’s what I usually keep on hand:
- Canvas or foam board
- Acrylic paints (lots of colors!)
- Paintbrushes
- Cheap frames
- Wood bits (like stir sticks or shims)
- Plaster or joint compound
- Hot glue gun and glue sticks
- Scissors
- Measuring tape
- A few nails or hooks
Mix and match depending on what you’re making. Super easy, right?
7 DIY Wall Art Projects
Okay, here are seven projects I’ve played around with. They’re all pretty doable and look way cooler than you’d expect. Let’s jump in!
Project 1: Textured Plaster Art
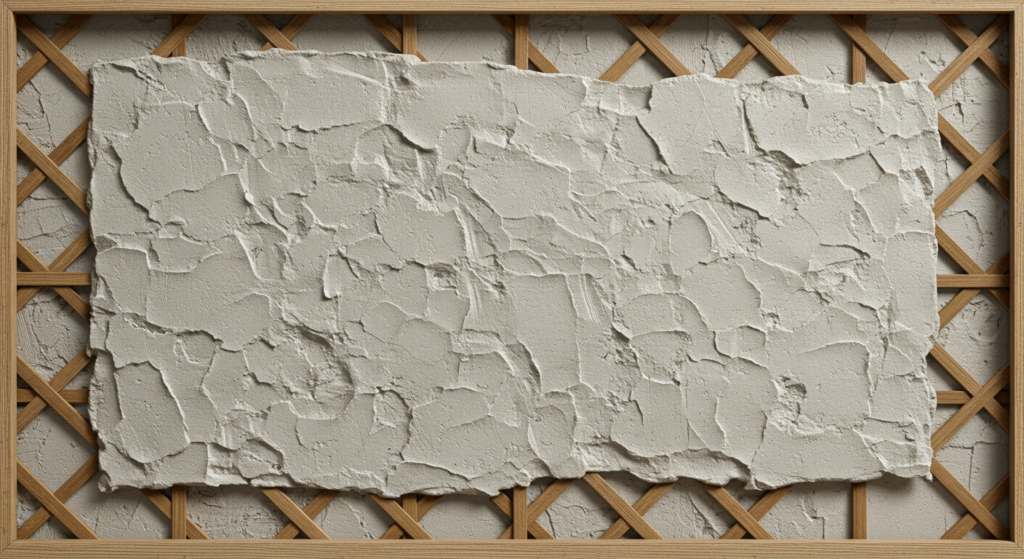
This one’s a little messy, but I love how it turns out. It feels fancy without much effort.
- Grab a cheap frame from Walmart or wherever.
- Stick some wood pieces—like little sticks—inside it however you like.
- Mix up some plaster (I used joint compound once) and spread it over the sticks.
- Let it dry overnight. Don’t rush it!
- Paint it if you feel like it, or keep it plain.
- Hang it up and admire it.
The first time I tried this, I was worried I’d mess up the plaster part. But it was fine—just go slow and enjoy the process.
Project 2: Foam Board Layers
This one’s great if you want something with a bit of pop. I used stuff I already had lying around.
- Cut a piece of foam board to whatever size you want.
- Glue paint stir sticks and shims on it in a fun pattern.
- Stain or paint the wood to make it stand out.
- Stick it all together with hot glue.
- Hang it up—or lean it somewhere if you’re lazy like me.
It looks 3D and artsy, but it’s so simple. I was shocked at how good it turned out.
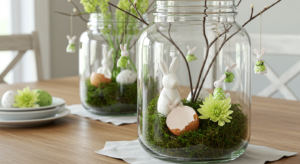
Project 3: Aloha Frame with a Twist
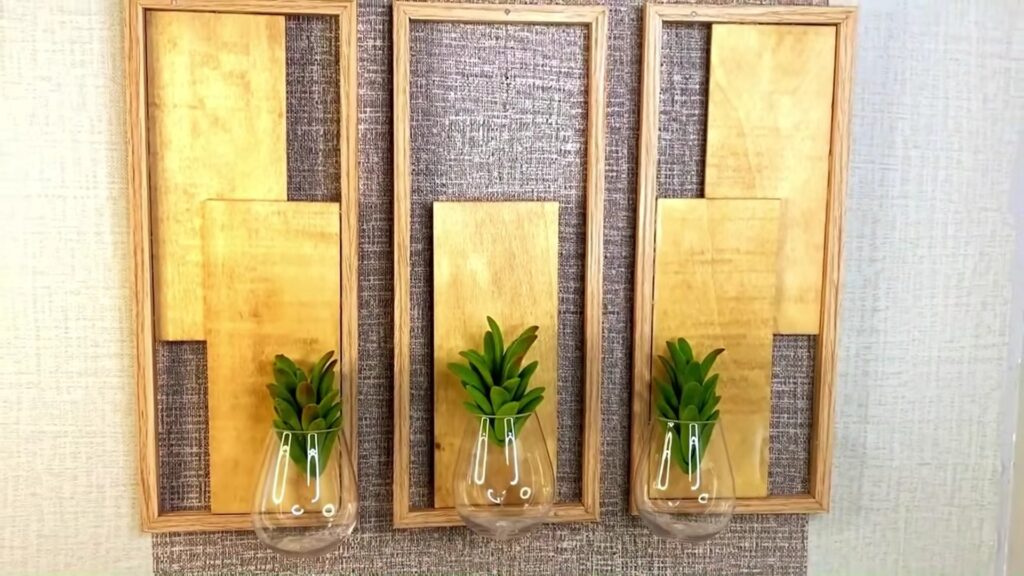
I found these Aloha frames at Dollar Tree and had to try something with them. It’s quirky and cute.
- Rip off any decorations on the frames.
- Stain some wood planks and glue them onto the frames.
- Attach tiny wine glasses (or anything small) to the planks with hot glue.
- Add a little fake greenery or a flower for fun.
This one’s my favorite—it’s got such a playful vibe. I stuck some cheap greenery on mine, and it looks adorable.
Project 4: Leafy MDF Circles
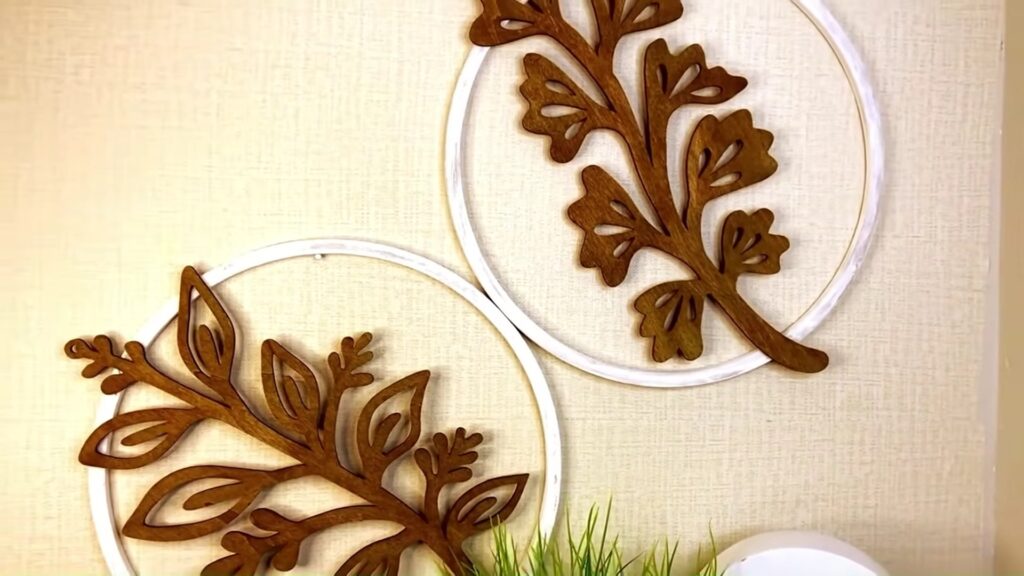
Super quick and looks way fancier than it is. I used MDF circles from Dollar Tree.
- Slap some white paint on the circles—doesn’t have to be perfect.
- Paint leaf-shaped wood cutouts green, then rub on some antique wax.
- Glue the leaves onto the circles however you think looks nice.
These feel so classy, like something from a boutique. Perfect if you like a nature-y touch.
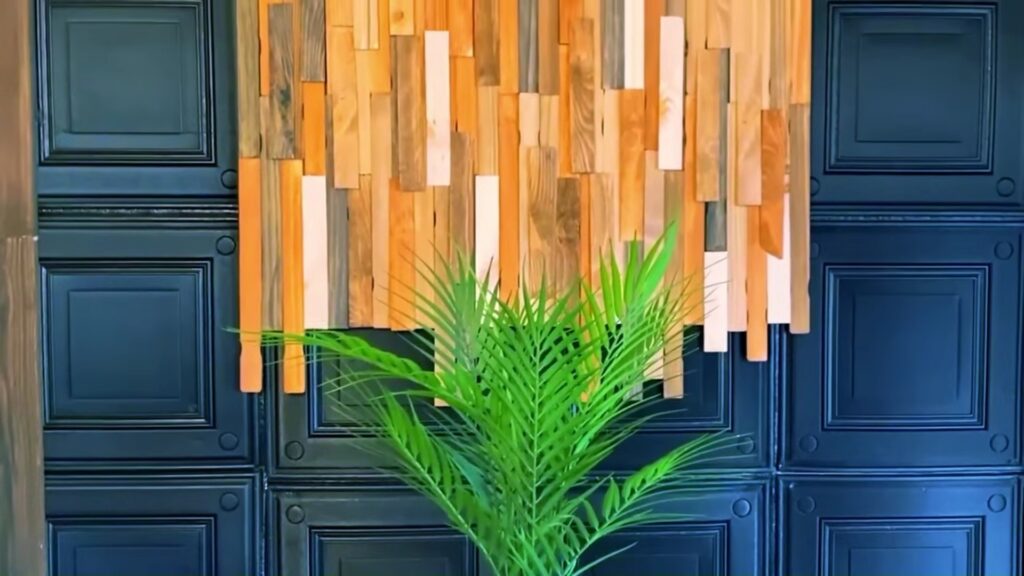
Project 5: Big Stained Wood Piece
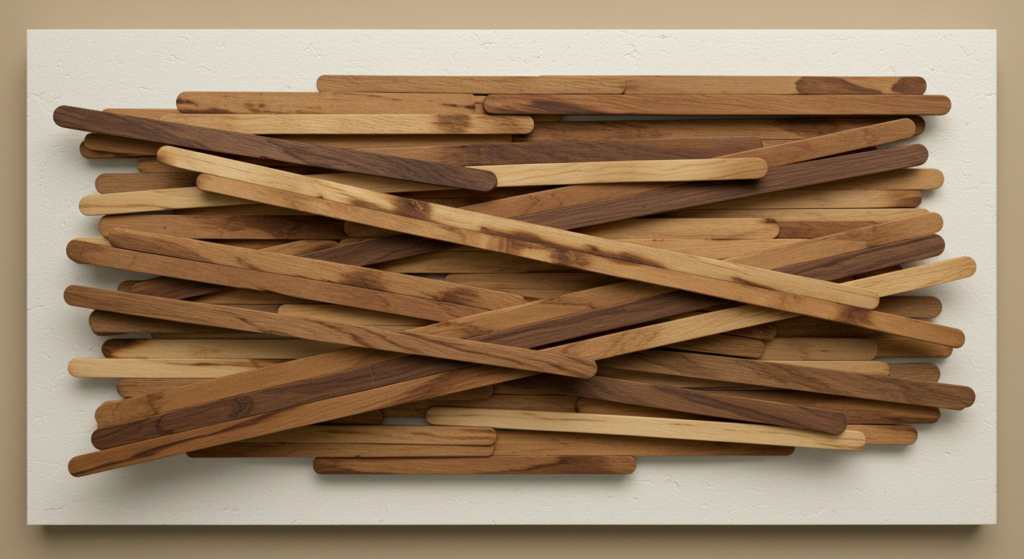
Got a huge wall? This one’s for you. It’s bold but cheap.
- Stain some wood scraps in different shades.
- Figure out where it’s going on your wall and measure it out.
- Nail or glue the pieces up in a cool pattern.
It’s a total show-off piece. Mine’s in my living room, and people always notice it first.
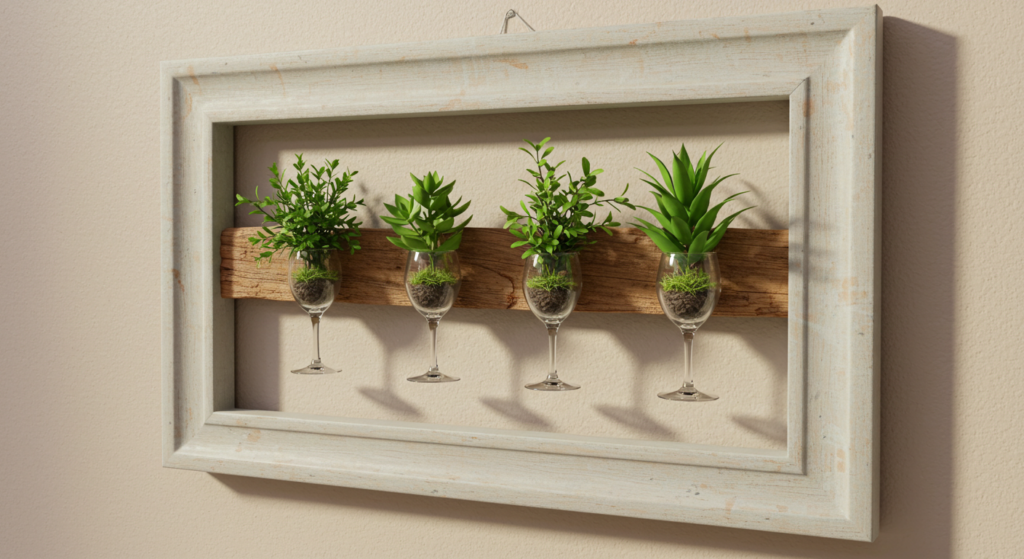
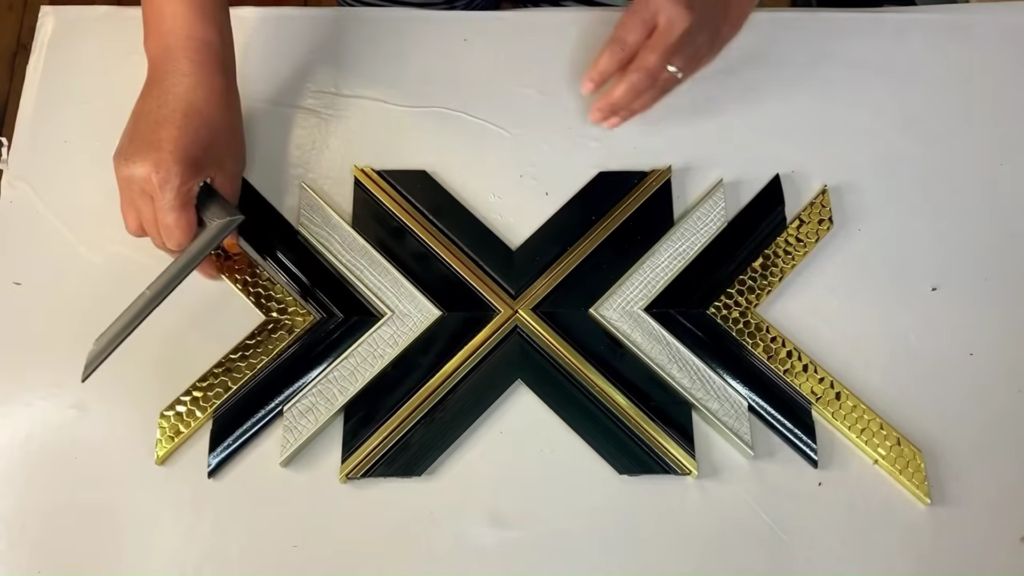
Project 6: Dollar Tree Frame Remix
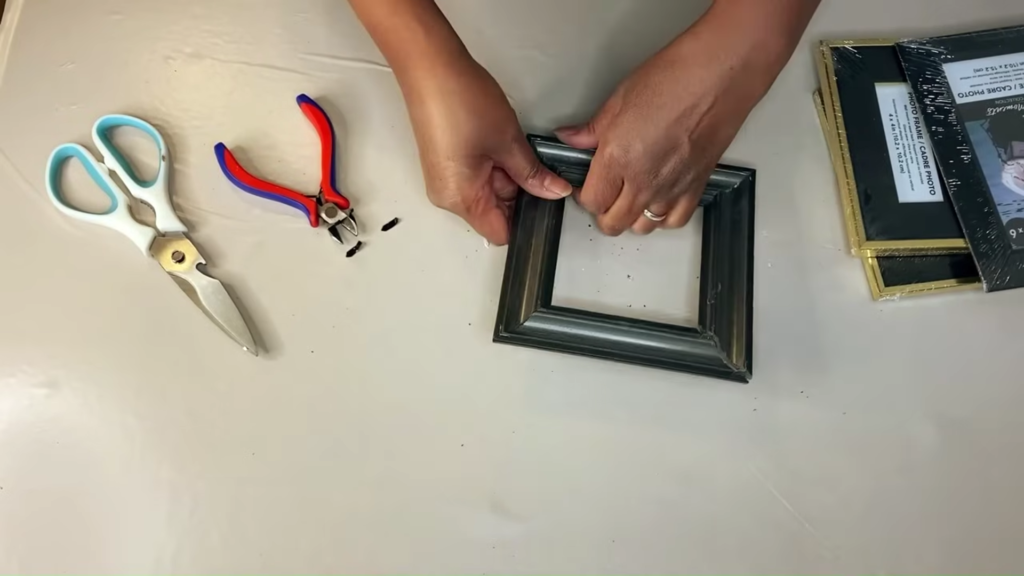
I saw this pricey piece online and thought, “I can make that!” So I did—with Dollar Tree frames.
- Pull apart the frames to use the pieces.
- Arrange them in a funky design—I went abstract.
- Spray paint them with brown shades for a rustic feel.
- Glue them onto a board or right on the wall.
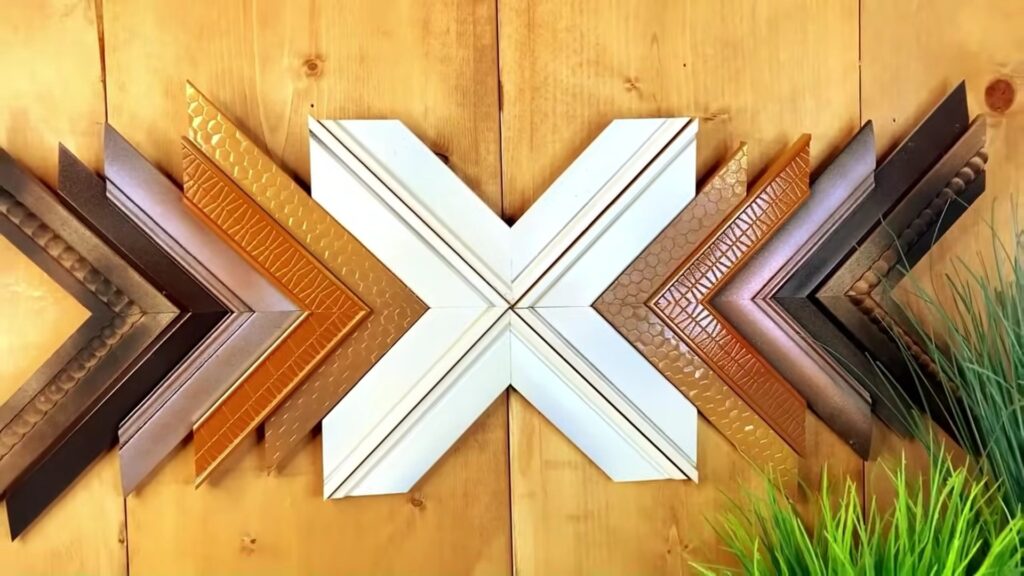
It looks so high-end, but I spent almost nothing. Way better than the original, if I do say so myself.
Project 7: Boho Shelf Thing

This one’s a little shelf, but I still count it as wall art. It’s got a chill, boho look.
- Stain some wood pieces—I used old Christmas ornaments for mine.
- Glue or nail them into a shelf shape.
- Add some lightweight stuff to display, like a tiny plant.
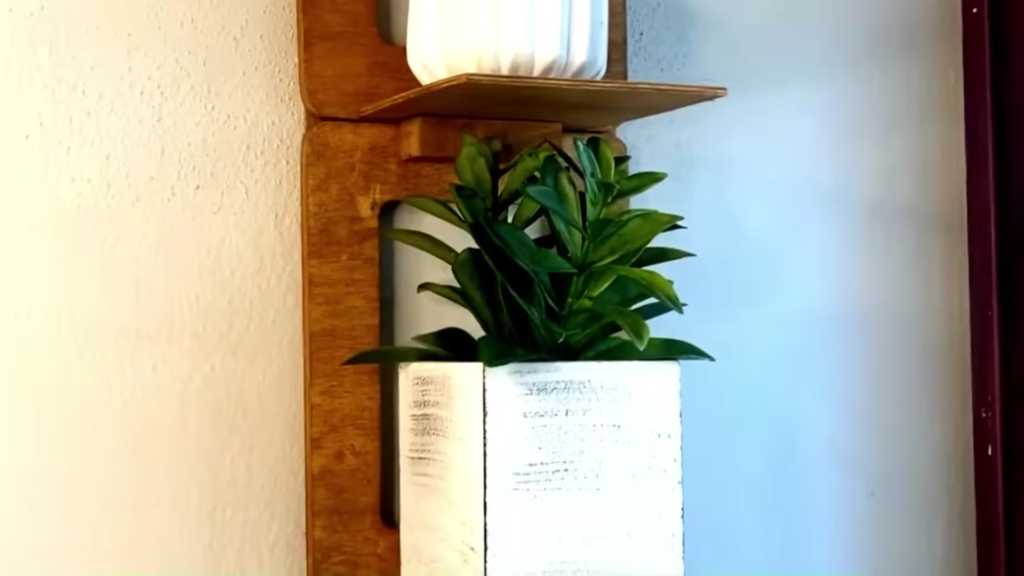
It’s perfect for small spaces. I love how it doubles as decor and storage.
Tips for Success
Here’s what I’ve figured out from messing around with these:
- Pick a size that fits your spot. Too big or small just looks weird.
- Use colors you already have in your room. It ties everything together.
- Don’t stress if it’s not perfect—some of my best stuff came from mistakes.
- Let things dry fully, especially paint or plaster. Patience pays off.
It’s all about having fun, so tweak things however you like.
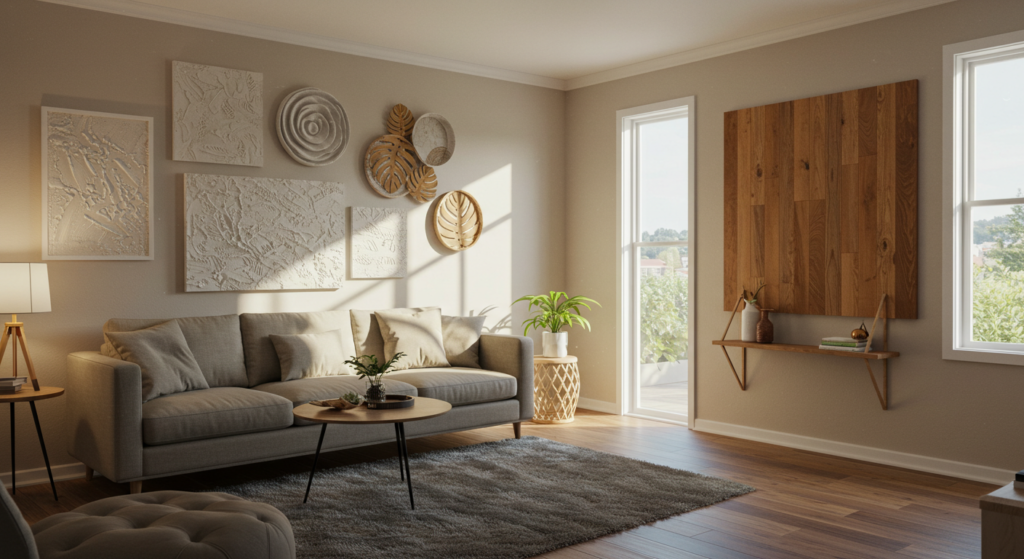
Display Ideas
Once you’ve got your pieces, here’s how I like to show them off:
- Make a gallery wall with a bunch of them together.
- Pop smaller ones on floating shelves.
- Hang a big one over your couch or bed.
- Mix them with stuff you’ve bought for a cool mash-up.
I’ve got mine all over my place, and it makes everything feel more “me.”
FAQs
People ask me stuff like this all the time, so here’s what I’ve got:
What paint works best on canvas?
I like acrylics. They’re easy to use and dry fast.
How do you hang heavier stuff?
A sturdy nail or hook usually does it. Just make sure it holds.
Can I use real plants or flowers?
Sure! Just keep it light so it doesn’t fall apart.
Wrap-Up
So, that’s it—seven DIY wall art ideas I’ve had a blast trying out. I hope you’re itching to grab some supplies and give it a go. The coolest thing about this stuff is making it your own, so play around and see what happens. If you try any of these—or come up with something totally different—let me know! Drop a comment or tag me somewhere. Can’t wait to hear about your adventures. Happy making!